

Just over 25 years ago,
just before hubby and I were married,
both of our sets of parents gave us
a good chunk of money for a wedding present.
With one chunk we put a down payment
on our first home,
and with the other we bought a dining room set,
a bedroom suite,
and other home furnishing items.
We sold that first home years ago,
but surprising to me
we still have most of the furniture.
Although we purchased good quality, there does come a time when even good quality furniture needs some tweeking.
This weekend was one of those times.


The upholstered seats have definitely been showing some wear and stains. Embarrassing to say the least.
I shared my dilemma with my friend, LinSe, and she shared with me her solution: DIY reupholstering. (For those of you still not up on common acronyms ... DIY stands for "

 Shortly thereafter I stumbled upon a garage sale where the seller just happened to be a furniture upholsterer.
That was handy.
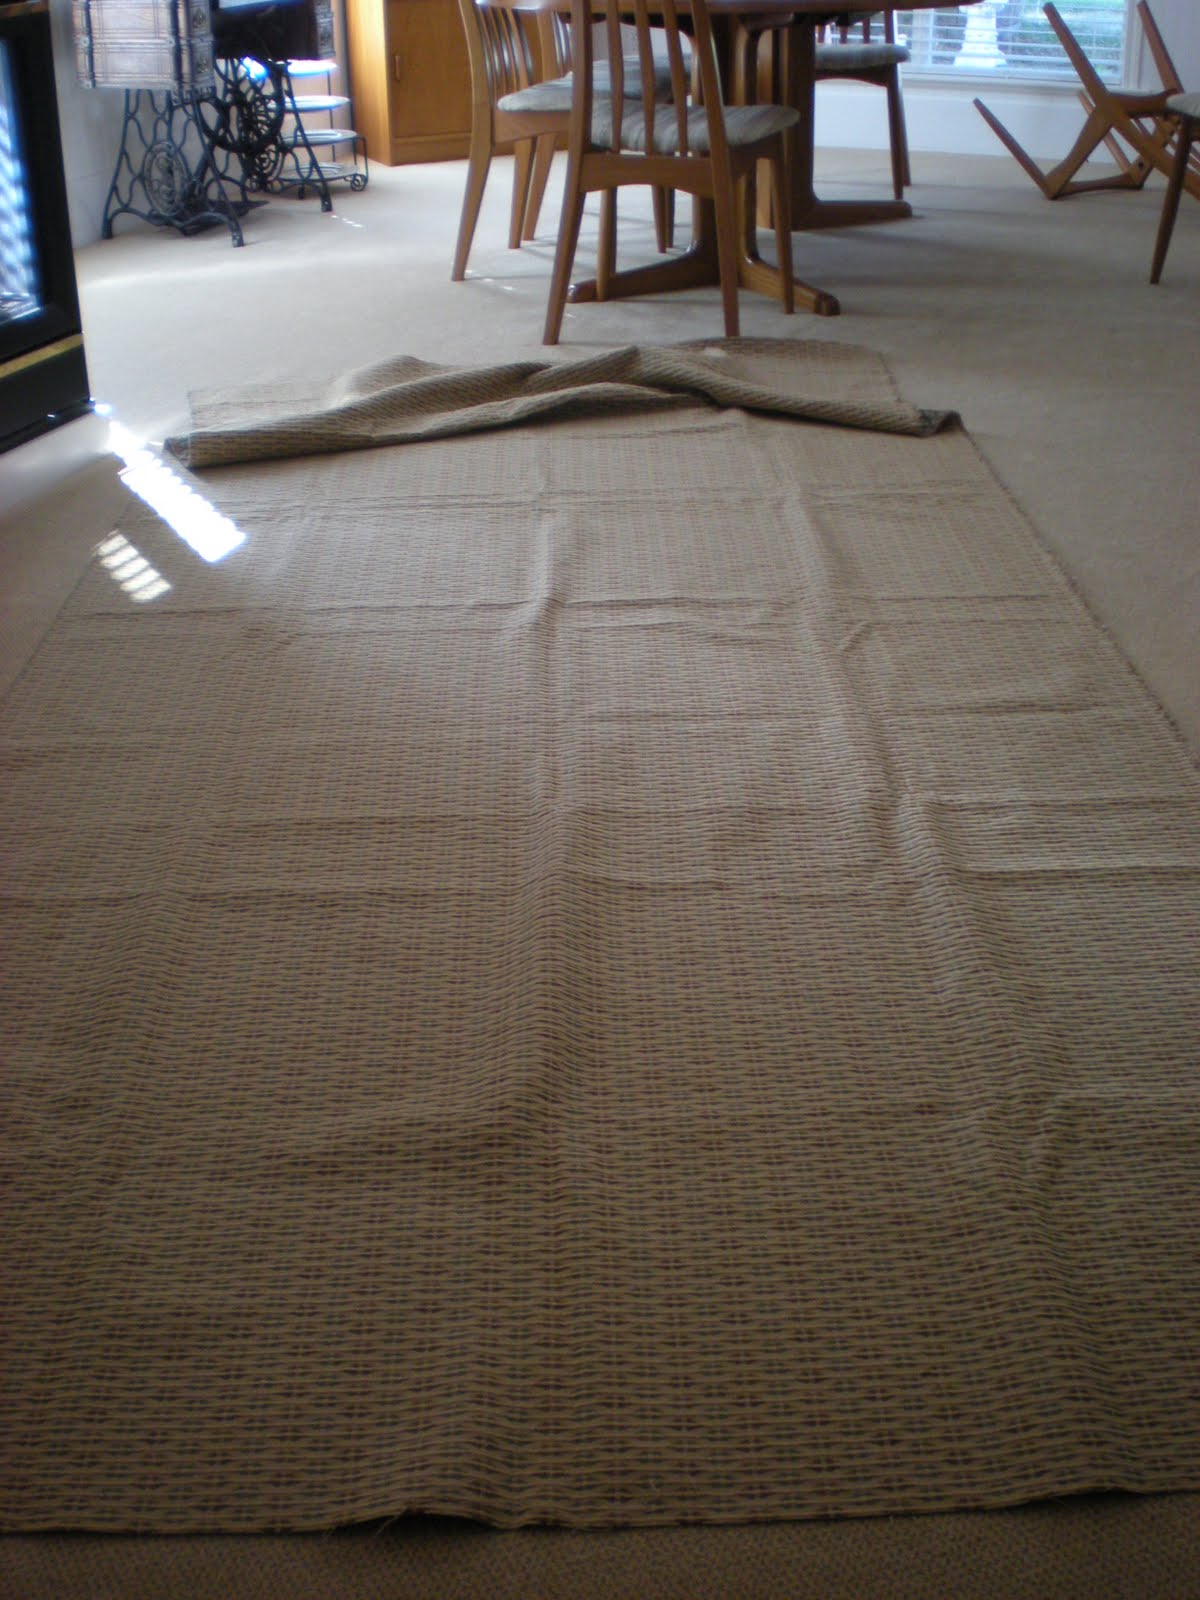
She had piles of beautiful leftover fabric.
I found one with a suitable colour scheme and yardage for my eight chair seats, and paid the lady $8.00. I was thrilled.

Off with the chair seats and we were ready to begin this new adventure.


Johnnie-Girl and I used a sheet of an old blueprint for the template.
Trace around the seat and then add four inches.
Trace around the seat and then add four inches.
 Find the center of the template
and place it along one of the stripes to align the fabric.
This is an important step for it to look 'professional'.
Rather than remove the old fabric, we left it on and reupholstered right over top. It probably added some 'cushion' that would have been lost if the old was removed.


We used an electric staple gun. A manual one will work sufficiently but may require a bit more work.
Start with a single staple in the center of each side. Don't forget to pull the fabric tightly. Then put one staple in each corner.
From there find a spot half way between each staple, and start your stapling. Johnnie-Girl handled the staple gun like a pro, and I maneuvered the fabric. She didn't staple me once!
 Always pull the fabric taut
 As a heads up, the sides are fairly easy. The difficulty lays in the corners with excess fabric. Persevere and keep plugging in those staples.
And here is the finished product.
 First the raw and then the beautiful.
For less than $2 a chair for fabric and staples,
and a bit of elbow grease,

I think that they turned out pretty well.
No comments:
Post a Comment